What are notifications?
In CivicNexus, notifications are tied to saved lists. When you enable notifications for a list, CivicNexus will alert you when bills that match that list change.
A few helpful notes:
- Notifications are enabled per person. If your team shares an Organization list, each teammate can choose their own notification settings.
- You can adjust notification settings anytime (or turn them off) without changing the underlying list.
Before you start: make (or pick) a list
Notifications are powered by saved lists. If you haven’t saved one yet, start with How to make a list.
Open notification settings
You can set up notifications from a few places in the app:
-
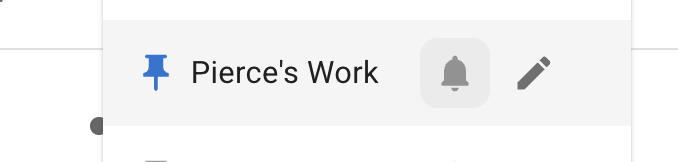
Bills page: click Lists, then click the bell icon next to a list.
-
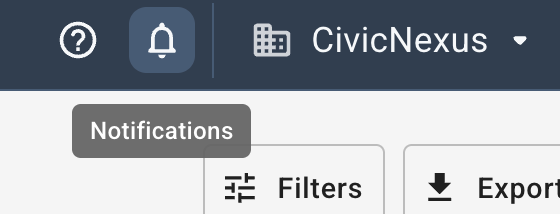
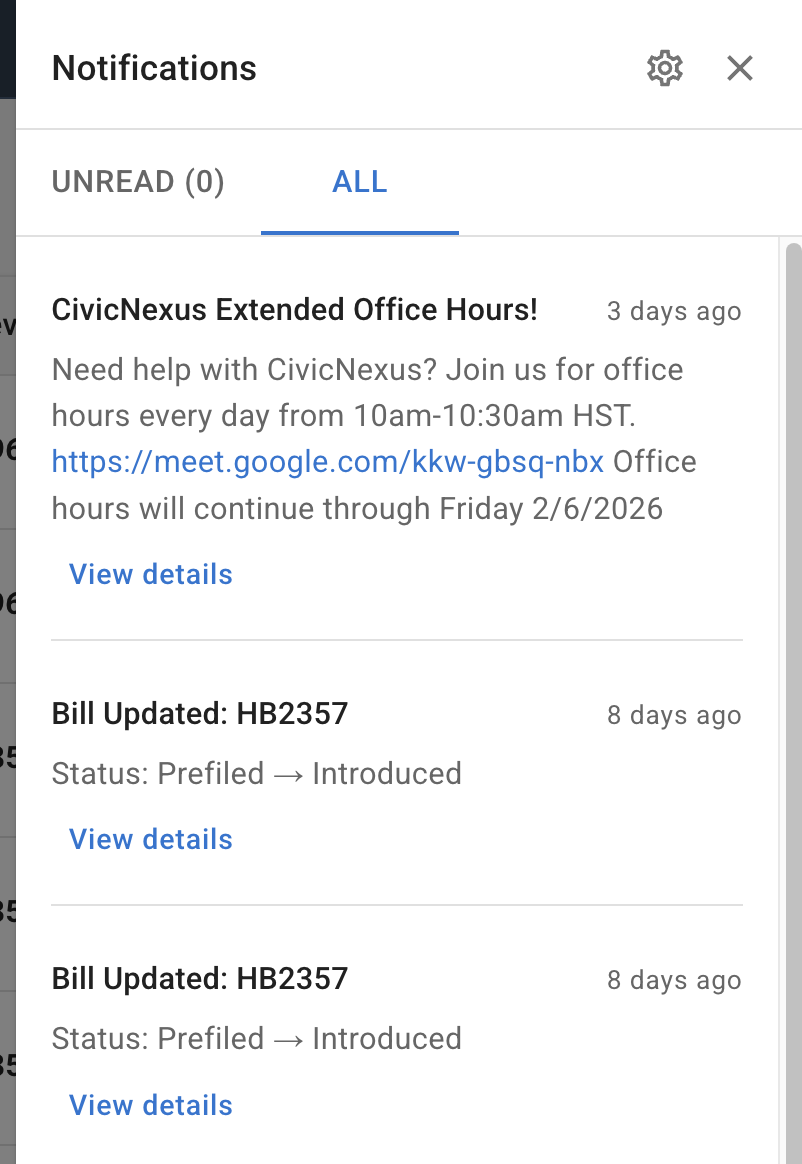
Notification center: open notifications, then click the settings (GEAR) icon in the top right to go to notification settings.
Choose what changes should trigger alerts

In the notification dialog, you’ll choose What changes?
- New bills added: get alerted when new bills enter the list.
- Existing bills change: get alerted when bills already in the list update.
Tip: If you want broad coverage, enable both. If you want fewer alerts, start with “Existing bills change” plus a small set of tracked fields (next section).
(Optional) Reduce noise by tracking specific fields
If you enable Existing bills change, you can optionally choose Which fields?
This is the easiest way to keep notifications high-signal. Common picks:
- Status (procedural movement)
- Lifecycle (alive/dead/enacted changes)
- Position (your organization’s stance)
You can also expand to “More fields…” (like Priority, Action, Committee, and more).
Tip: Leaving the field selection empty means you’ll be notified about all types of updates.
Choose how you want to be notified
Under How to notify you?, pick one or more delivery methods:
In-app notifications
Shows alerts inside the CivicNexus notification center.
Email notifications
Choose between:
- Immediate: messages as changes happen
- Daily digest: bundled once per day
You can also choose a delivery time that fits your workflow.
Slack (advanced)
If your team lives in Slack, you can send alerts to a channel using a Slack webhook URL.
- Open “Advanced options”
- Paste your Slack webhook URL (it should look like
https://hooks.slack.com/services/...)
If you need help creating the webhook URL see How to create a Slack Webhook.
Tip: Consider using a shared channel for organization lists (e.g., #legislation-alerts) and personal channels for your own lists.
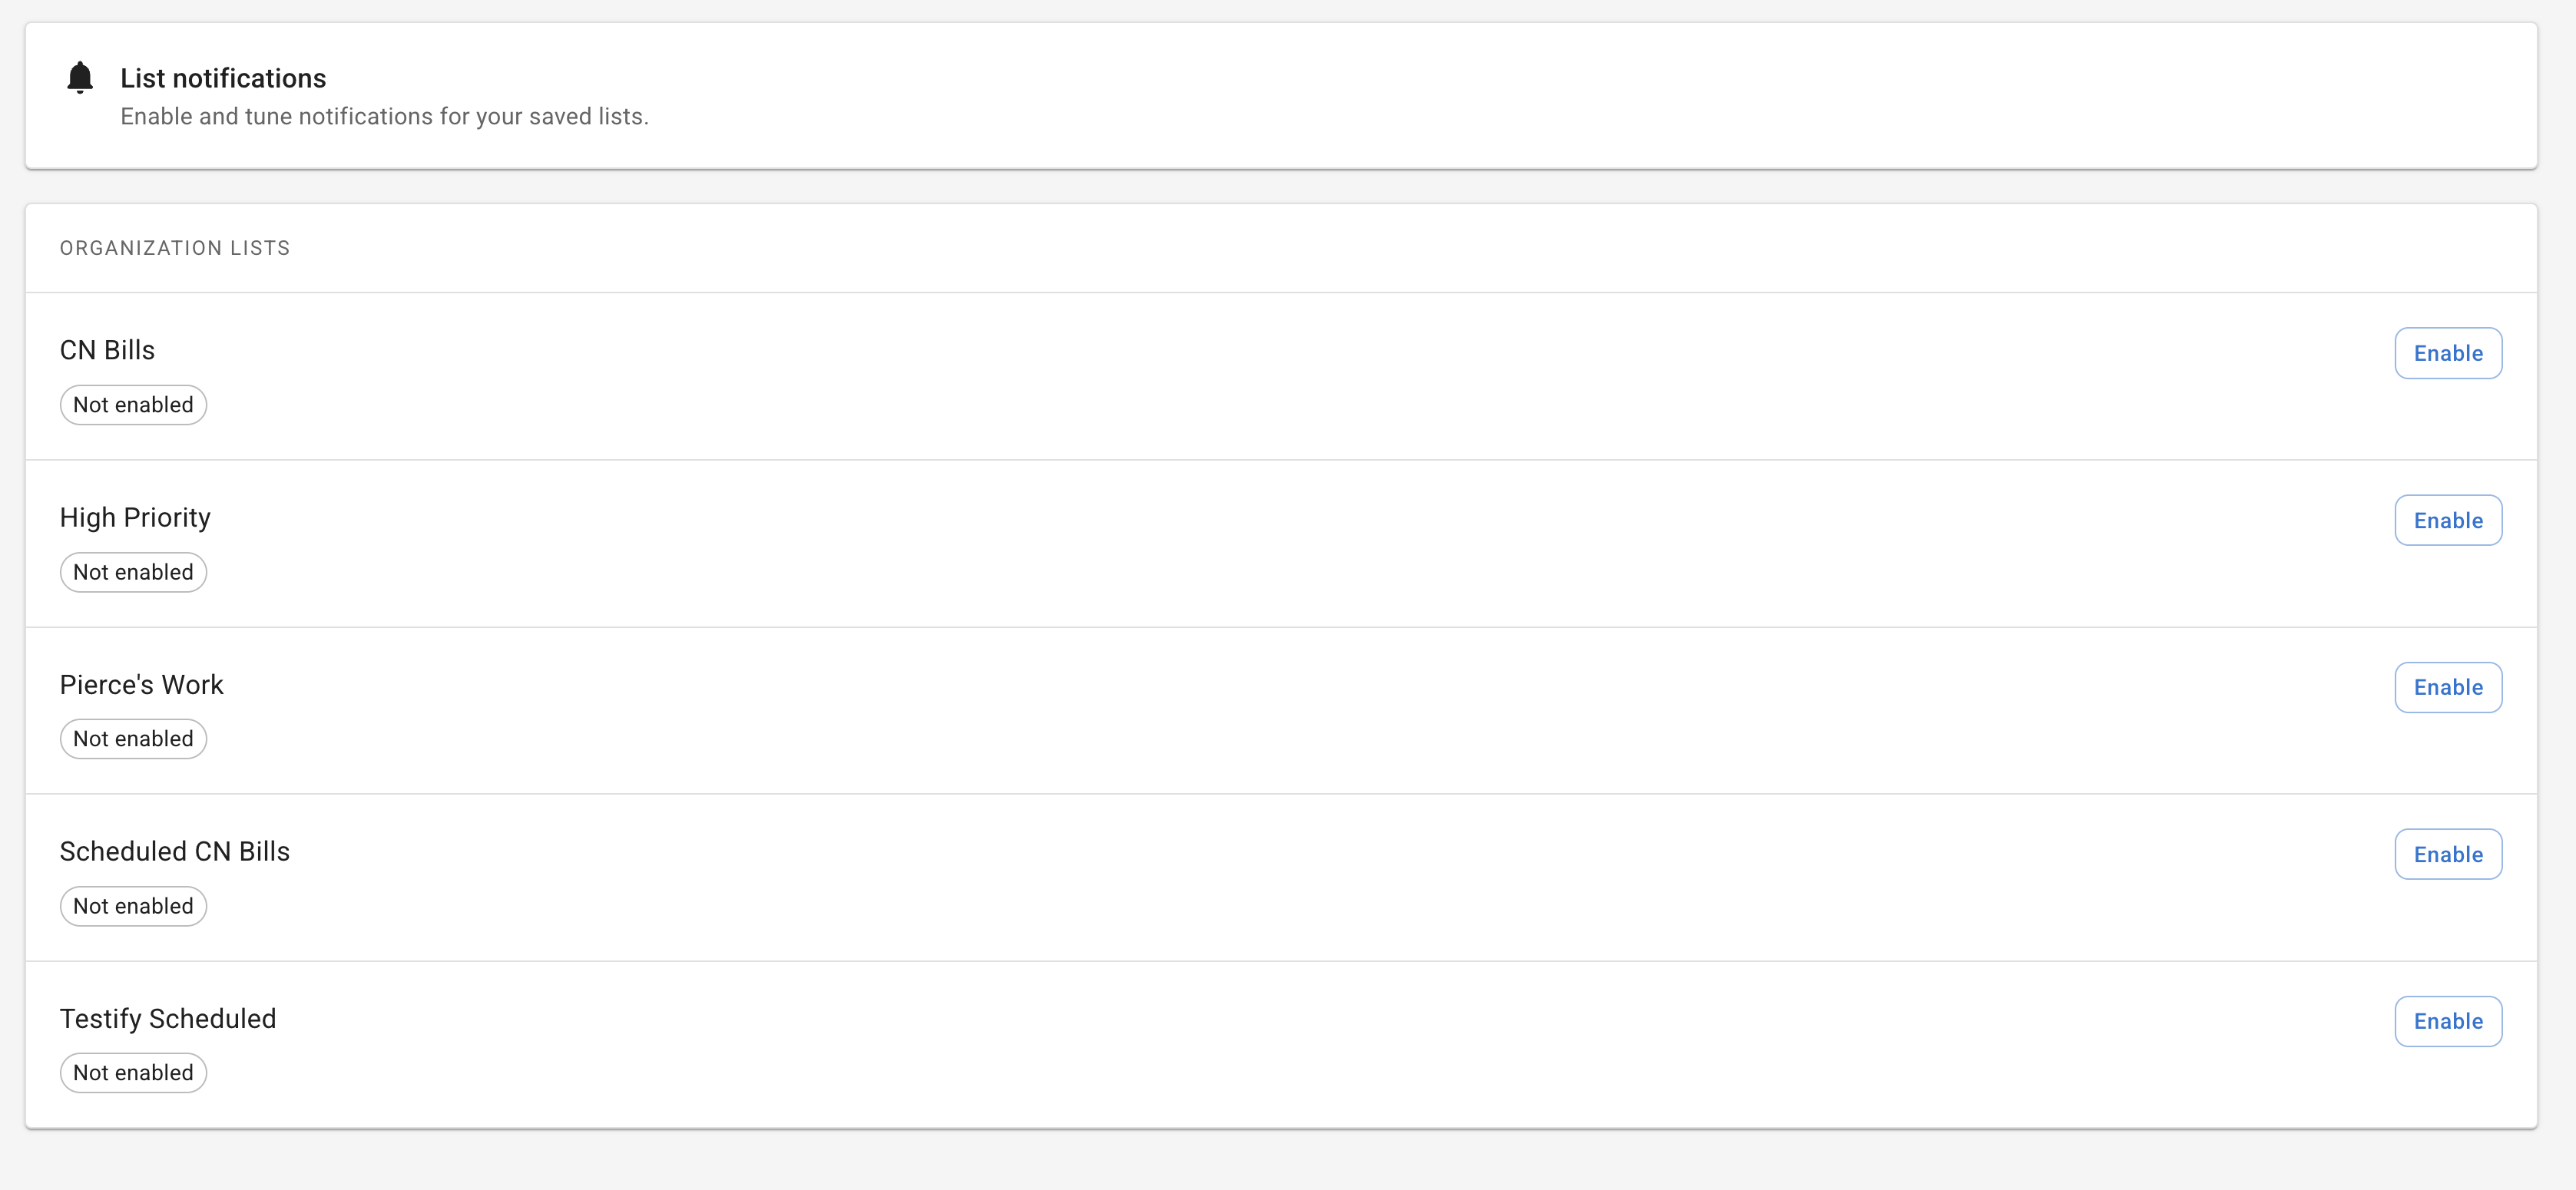
Save, update, or stop notifications
- Click Start notifications to enable alerts for a list.
- If you’re editing an existing configuration, click Update.
- To turn alerts off, choose Stop notifications (you can re-enable later).
Need help choosing the right notification setup?
If you want help designing a low-noise setup (which lists to watch, which fields to track, and where alerts should go), request a walkthrough.