What is a list?
In CivicNexus, a list is a saved set of filters on the Bills page. Lists are the core way that users select properties of bills that they want to track. Lists are what your dashboard and notifications are based off of, and help you:
- Return to the same curated set of bills without rebuilding filters.
- Share a consistent view with teammates.
- Pin important lists for one-click access.
- Get notifications when bills in the list change.
This document walks through how to create a list from the Bills page
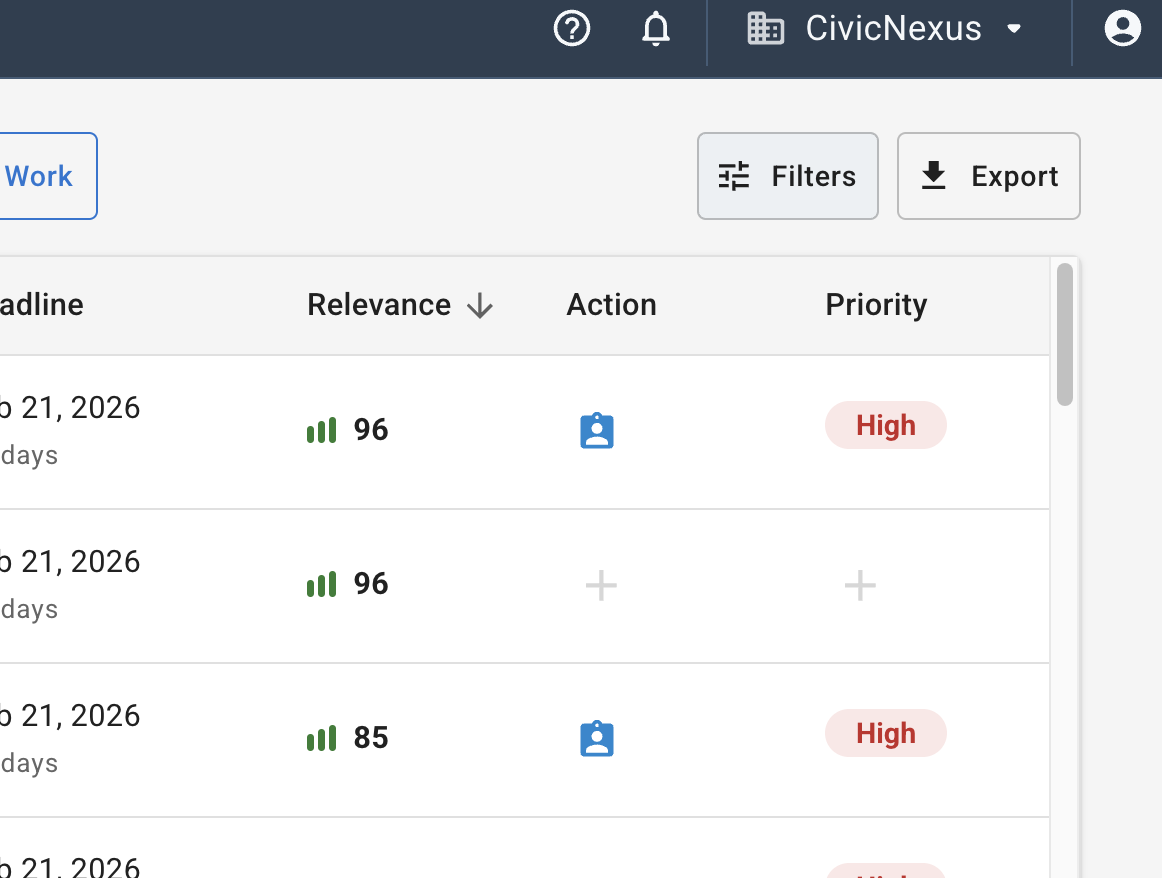
Step 1: Open the Bills page and filters
- Go to the Bills page in the CivicNexus app.
- Click Filters to open the filter drawer.
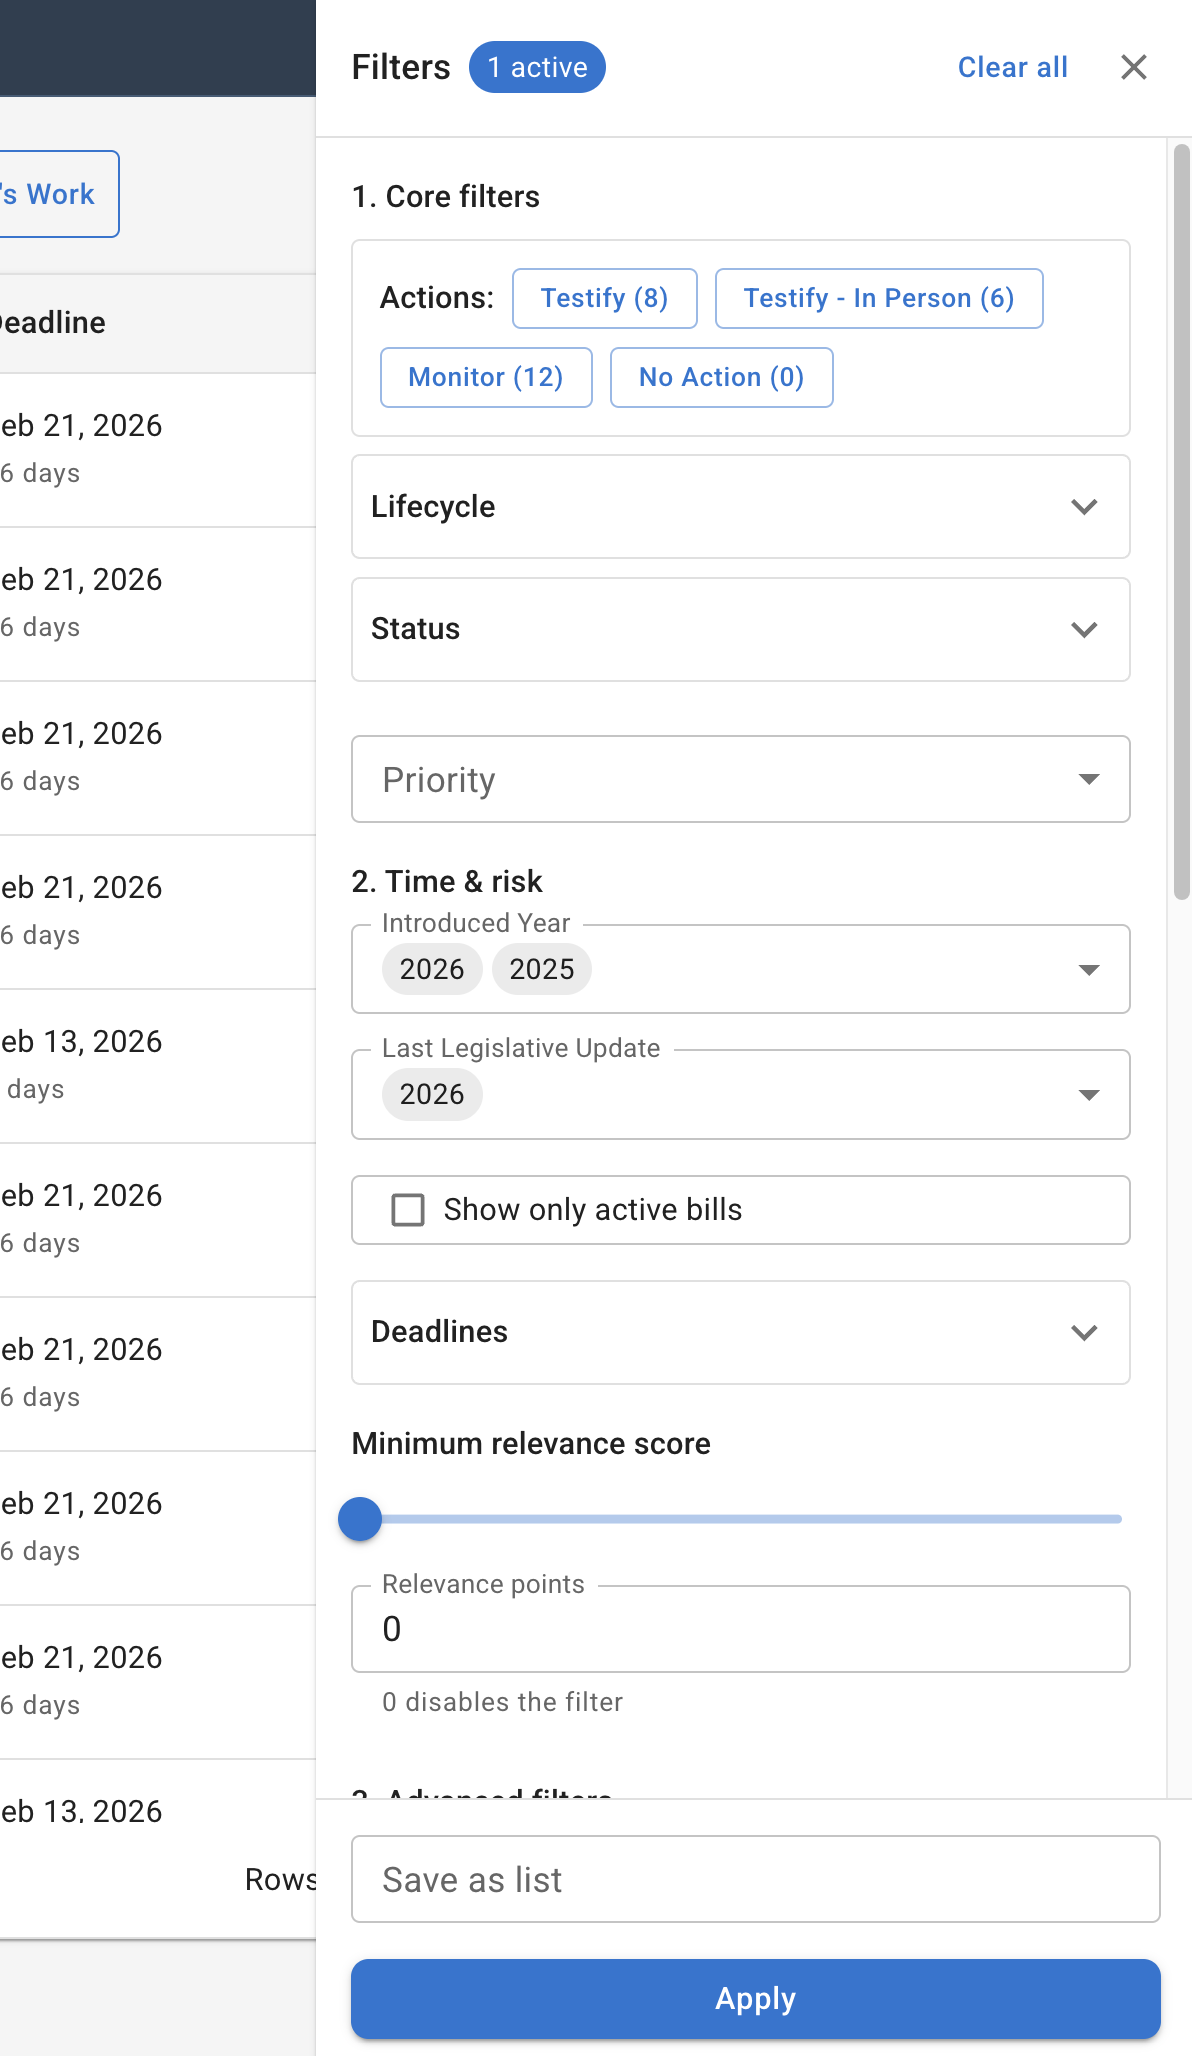
Filters allow you to trim the bills table to a select list of bills that you care about. You can filter based on 3 different types of properties:
- properties of the bill that are set by the state (like status, or referrals)
- properties of the bill that are derived from the state (like deadline, current committee)
- information that you have set on the bill (like tags, or Priority) Tip: Start with key filters like Action, Year, or Status, then refine.
Step 2: Build the list using filters
In the filter drawer, choose the criteria you want for your list. For example:
- Bills that are still moving (alive).
- Bills marked High priority.
- Bills you plan to Monitor or Testify.
- Bills with upcoming deadlines.
Click Apply to preview the results in the table. If the list is too big or too small, adjust filters and click Apply again.
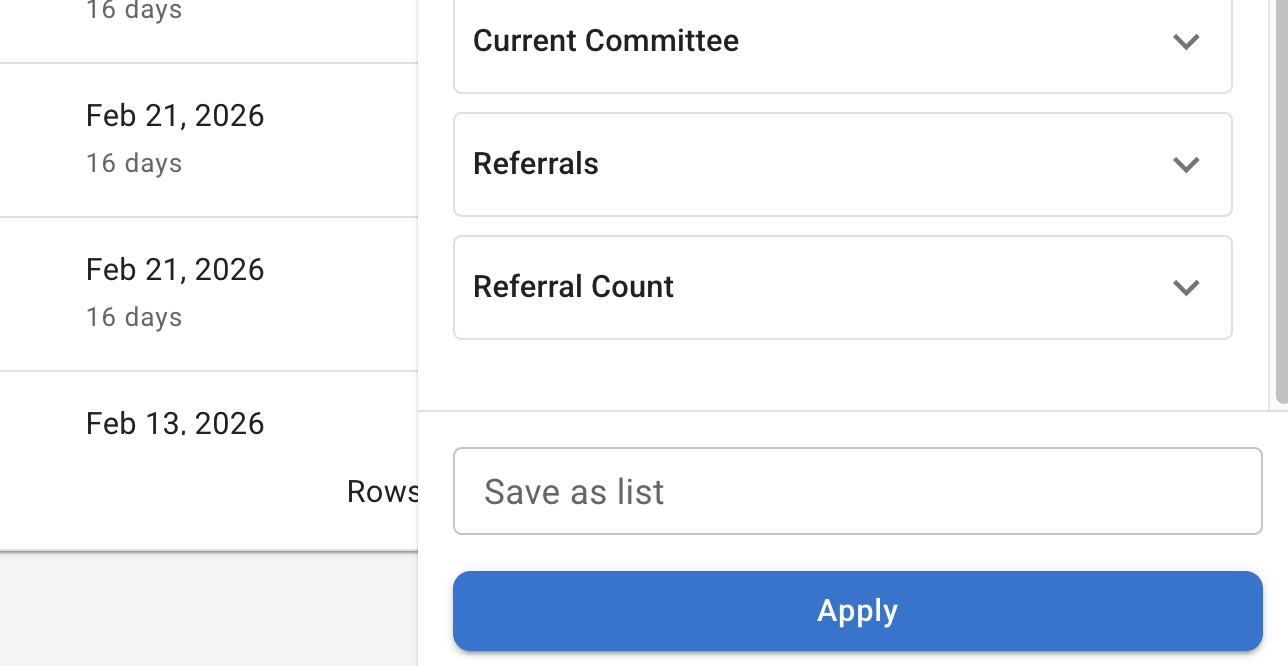
Step 3: Save the list
In the filter drawer footer:
- Enter a name in Save as list.
- If you have access, choose Visibility:
- Personal: only you can see it.
- Organization: Everyone in your organization will be able to see it and use it. Only Admins can edit that list.
- Click Save.
If you are editing an existing list, you will see Update instead of Save.
Step 4: Reuse your list anytime
On the Bills page, click Lists to open your saved lists menu:
- My lists includes your personal lists.
- Organization lists includes shared lists.
Click any list name to apply it.
Getting the most out of lists
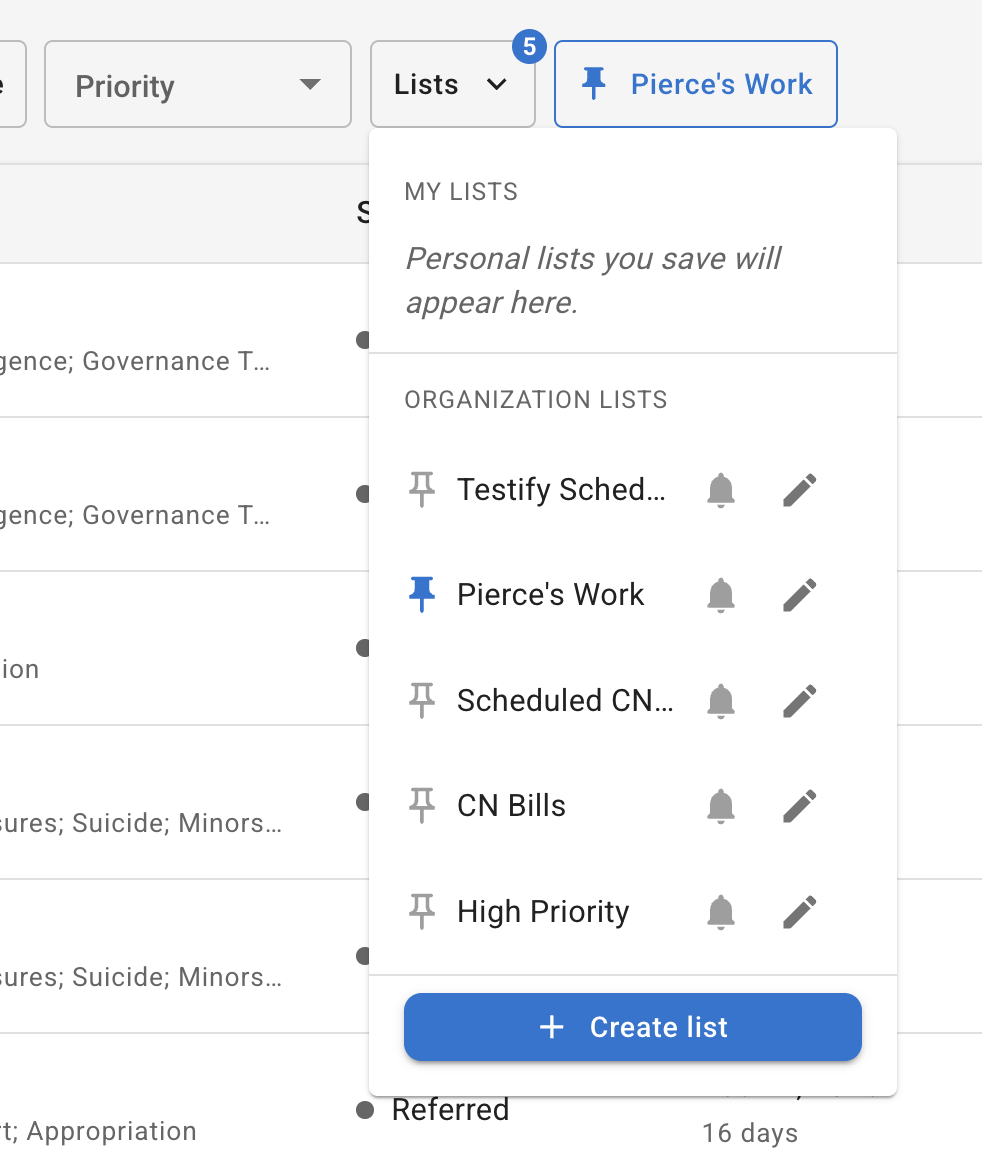
Step 5: Pin a list for fast access
In the Lists menu, click the pushpin icon to pin or unpin a list.
Pinned lists show up as one-click buttons on the Bills page so you can jump into monitoring without opening menus.
Step 6: Edit or delete a list
In the Lists menu:
- Click the pencil icon to edit a list (the filter drawer opens in edit mode).
- Click Update to save changes.
- Use Delete in edit mode to remove a list you no longer need.
Optional: Set up notifications for a list
Lists can power notifications so you do not miss changes to bills you care about.
In the Lists menu, click the bell icon to open notification settings for that list.
Need help setting up shared lists?
If you want help designing organization-wide lists (and deciding what should be pinned, shared, or monitored), request a walkthrough.